In this article, we’ll explore how to create free virtual tours on iPhone using the built-in Panorama feature. Virtual tours have become a popular tool across many industries, including real estate, tourism, and education. They provide a unique and immersive experience for viewers and allow businesses to showcase their products or services in a dynamic and engaging way.
What You’ll Need
To create a virtual tour on your iPhone, you’ll need a few things:
- An iPhone with a built-in Panorama feature
- A monopod (optional but recommended for stability)
- A free virtual tour software
Step-by-Step Guide to Creating a Virtual Tour with iPhone Panorama
Step 1: Open the Panorama Feature
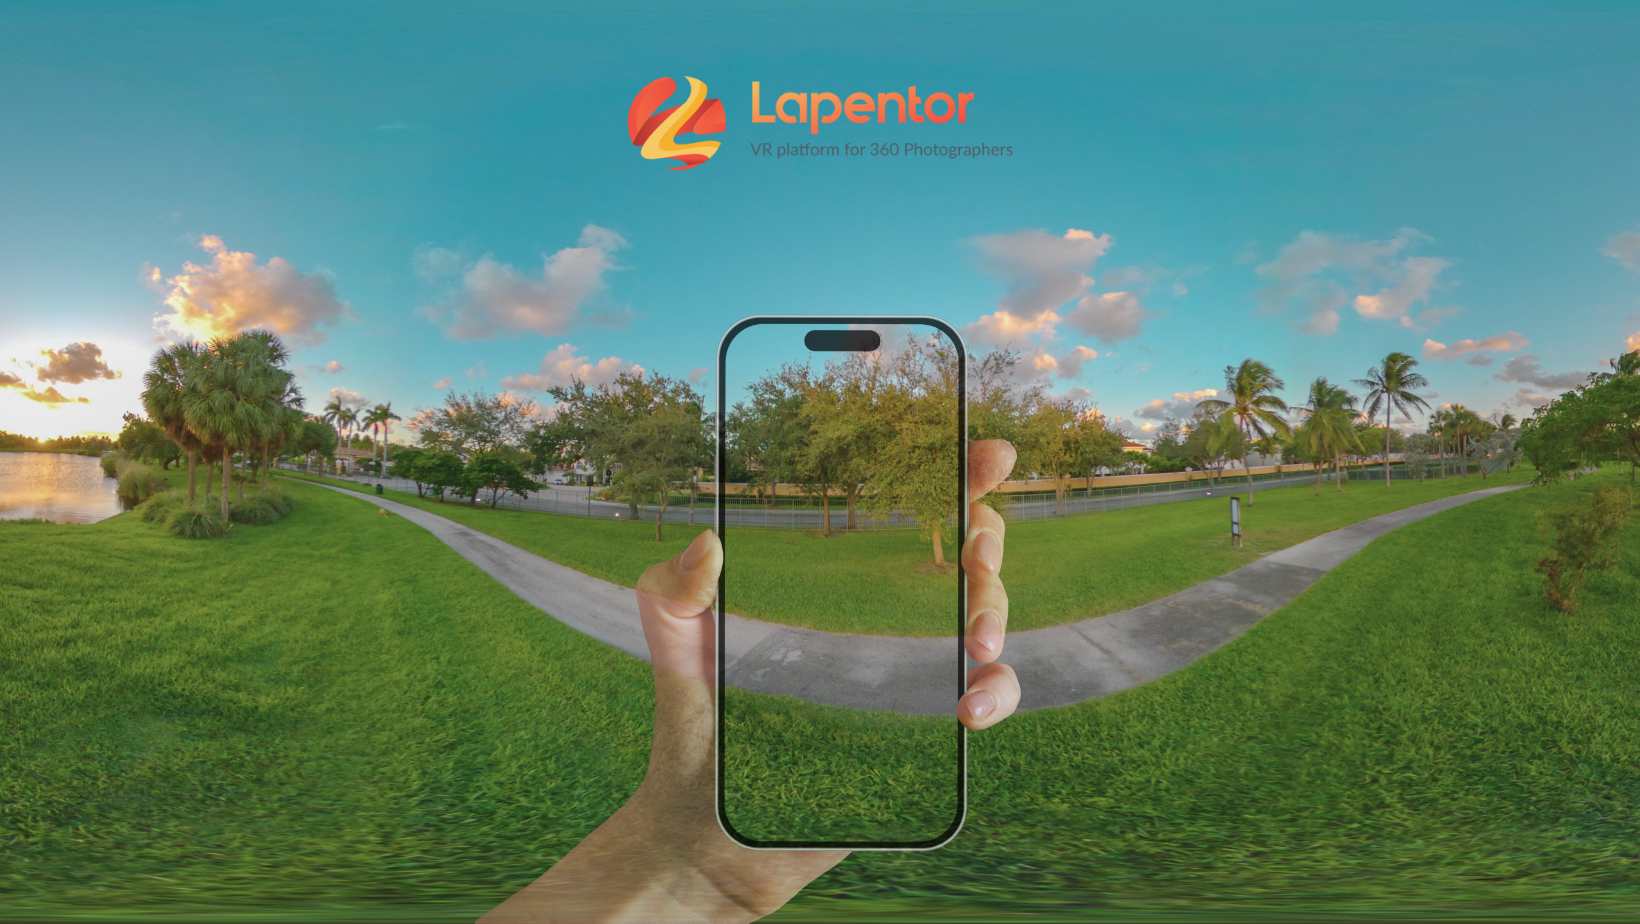
Open your iPhone camera and swipe left until you reach the “Pano” option. This will open the Panorama feature.

Step 2: Position Your Camera
Hold your iPhone in portrait orientation and position it where you want to start your virtual tour. It’s recommended to use a monopod to keep your camera steady and avoid shaky footage.
Step 3: Begin Capturing Your Panorama
Tap the shutter button and slowly move your iPhone in a horizontal motion to capture your panorama. Keep your iPhone level and make sure each section of the panorama overlaps slightly with the previous one. This will ensure that your virtual tour flows smoothly and seamlessly.
Step 4: Continue Capturing Your Panorama
Once you’ve captured the first section, move your iPhone to the right or left to capture the next section of your panorama. Continue this process until you’ve captured the entire area you want to include in your virtual tour.
Step 5: Save Your Panorama
Once you’ve finished capturing your panorama, tap the shutter button again to stop. Your iPhone will automatically stitch together the individual photos to create one seamless panorama. Make sure to save your panorama to your camera roll so you can access it later.
Step 6: Create Your Virtual Tour
Register or Login into Lapentor.com to start creating a virtual tour from panorama images you have taken using your iPhone on above steps.
How to Create Free Virtual Tours with Lapentor
Lapentor is a free virtual tour software that allows you to create high-quality, versatile, and interactive 360 virtual tours in just a few minutes. Here’s how to create a virtual tour with Lapentor.com
Step 1: Create an Account
Go to Lapentor Editor app at https://app.lapentor.com and create a free account, or log in if you already have an account. You can sign up using your email or your Facebook/Google account.
Step 2: Create a New Virtual Tour
Once you’ve logged in, click the “Create Project” button. Give your virtual tour a name.

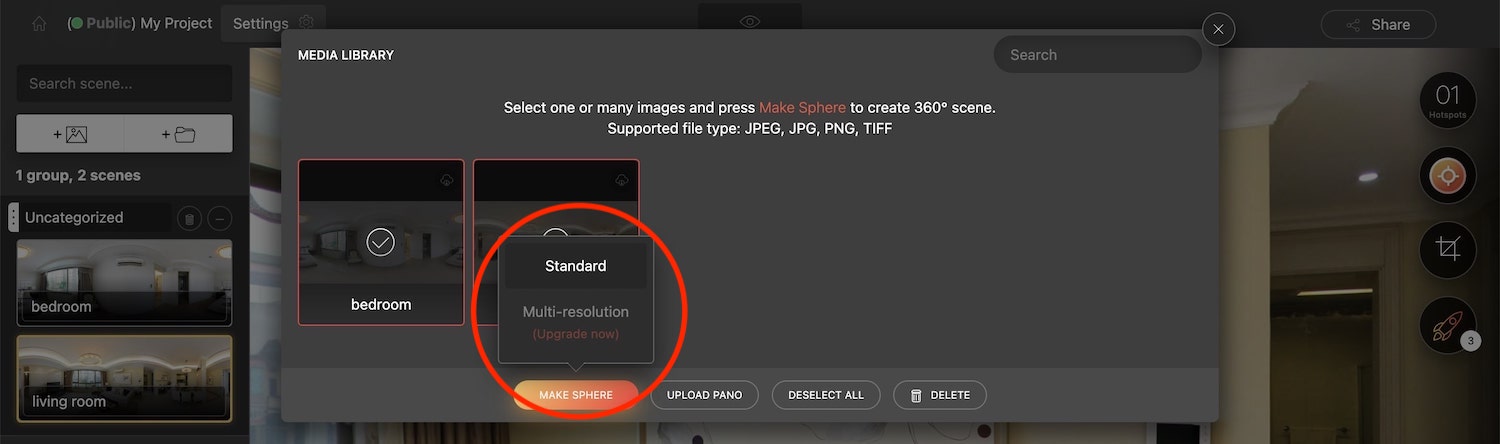
Step 3: Upload Your Panorama
Click the “Add Panorama” button and upload your panorama image from your computer. Lapentor supports high-quality, multiresolution panoramas, so make sure your image meets the necessary requirements.
Step 4: Customize Your Virtual Tour
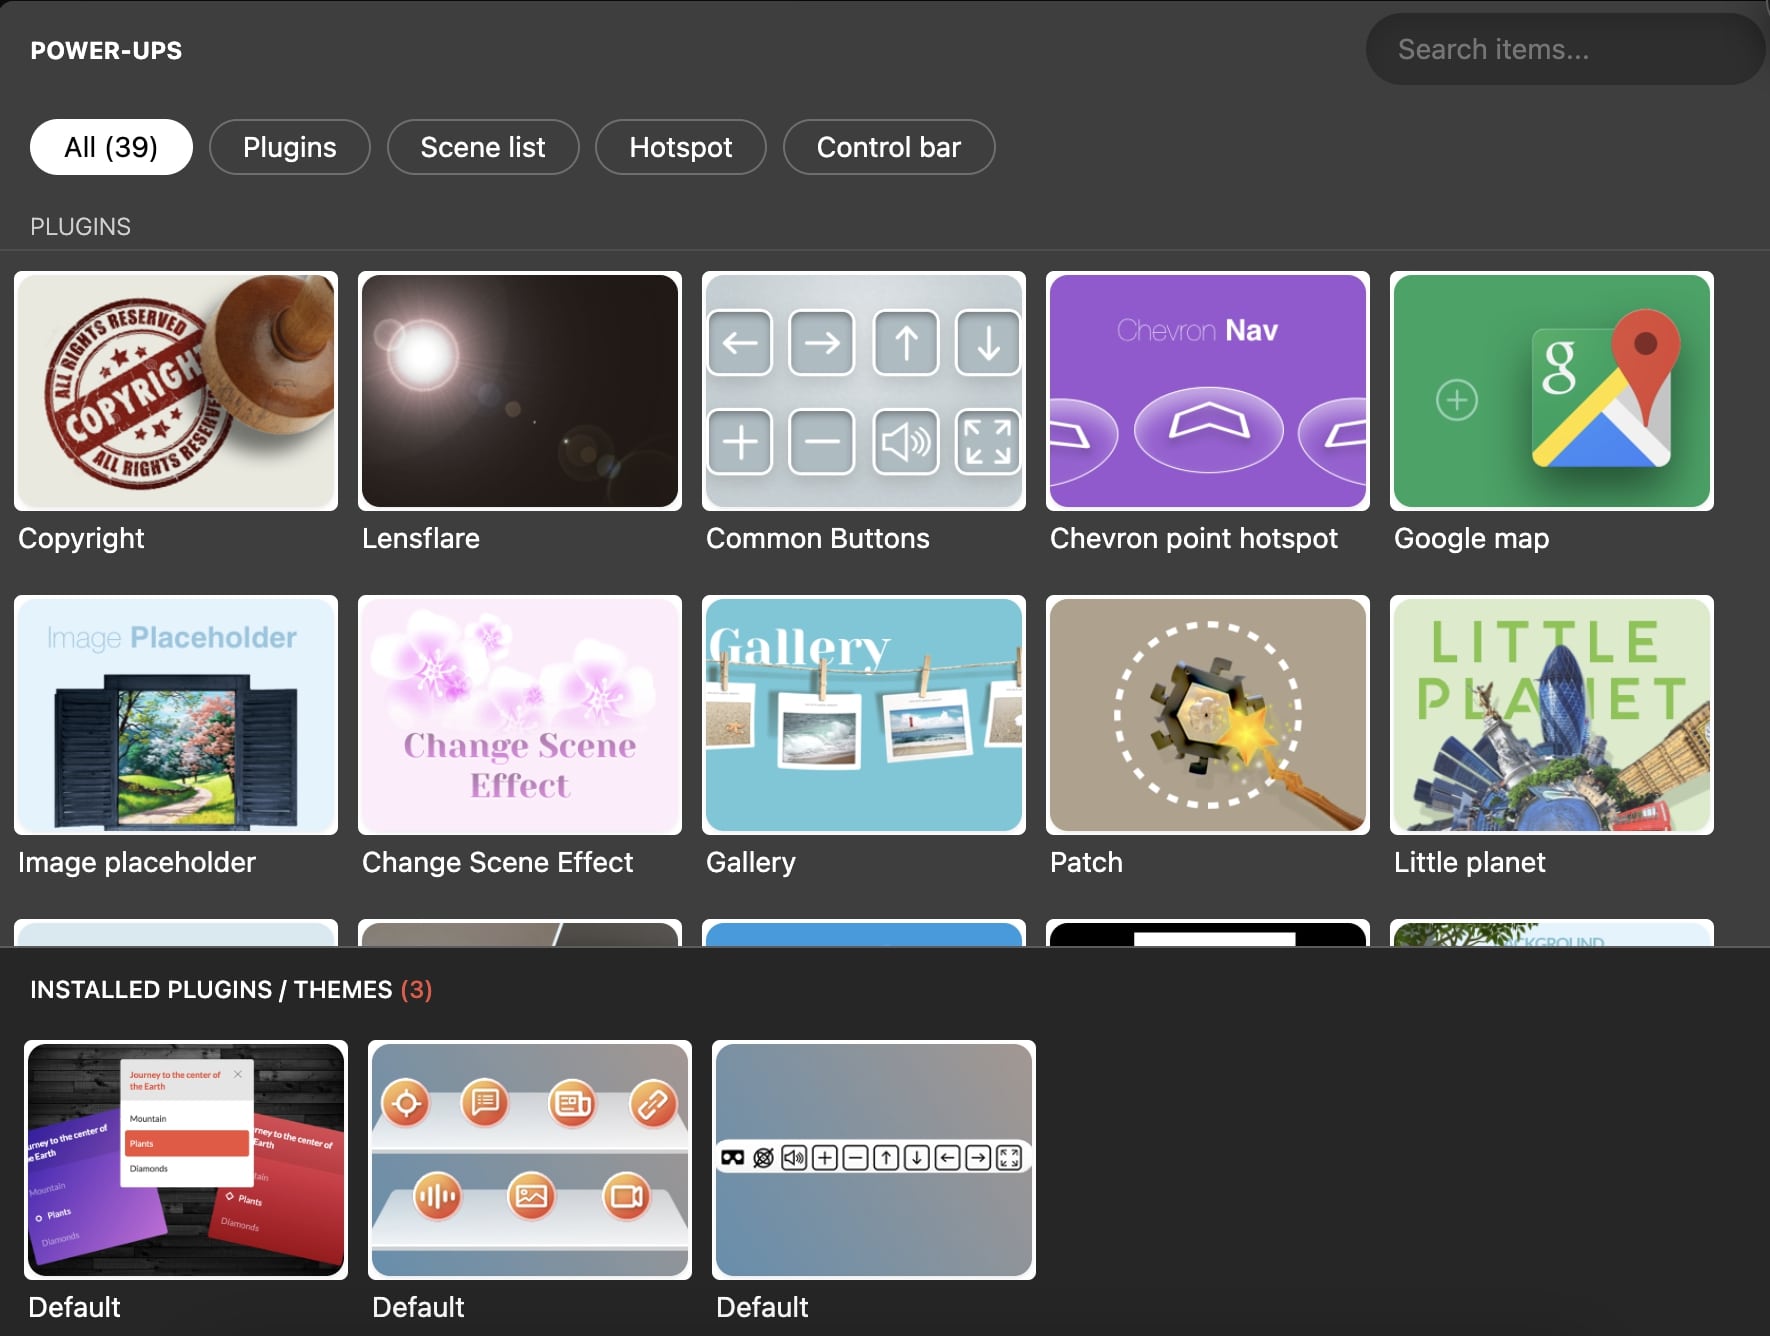
Once you’ve uploaded your panorama, you can customize your virtual tour by adding hotspots, text, images, and other interactive features called Plugins. Lapentor’s drag-and-drop interface makes it easy to create a professional-looking virtual tour with minimal effort.
Step 5: Publish Your Virtual Tour
Once you’ve finished customizing your virtual tour, click the “Publish” button to make it live. You can share your virtual tour on social media, embed it on your website, or send it directly to clients and customers.
Conclusion
Creating free virtual tours on iPhone is easier than you might think. With the built-in Panorama feature, you can create a professional-looking virtual tour in just a few steps. By incorporating virtual tours into your business strategy, you can attract more customers, showcase your products or services more effectively, and stay ahead of the competition.