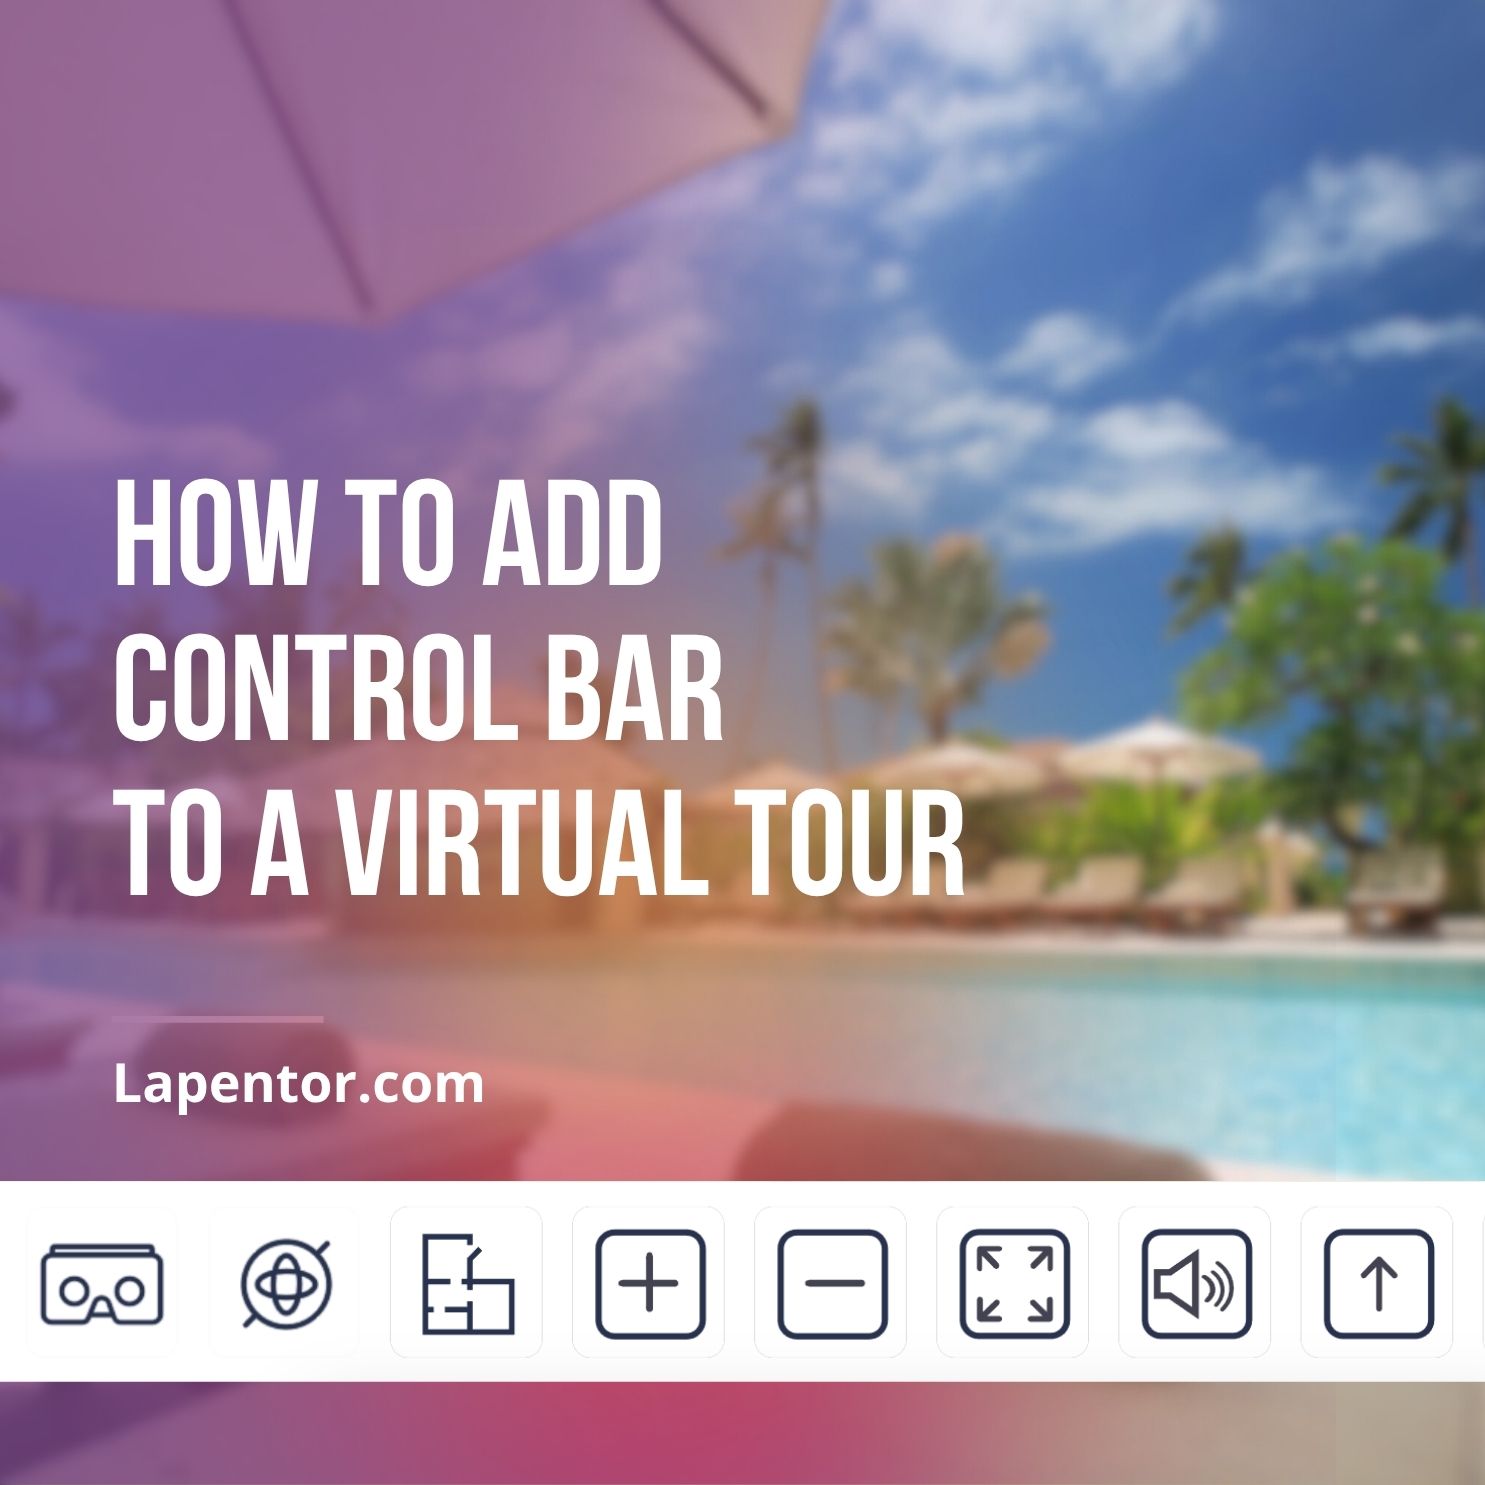
Want to add powerful tools like Google Maps, a Floor Plan, or other interactive buttons directly into your stunning virtual tours? That’s where the Control Bar comes in! In Lapentor, the Control Bar acts as a neat, organized home for all those fantastic plugins that make your tour even more dynamic and user-friendly.
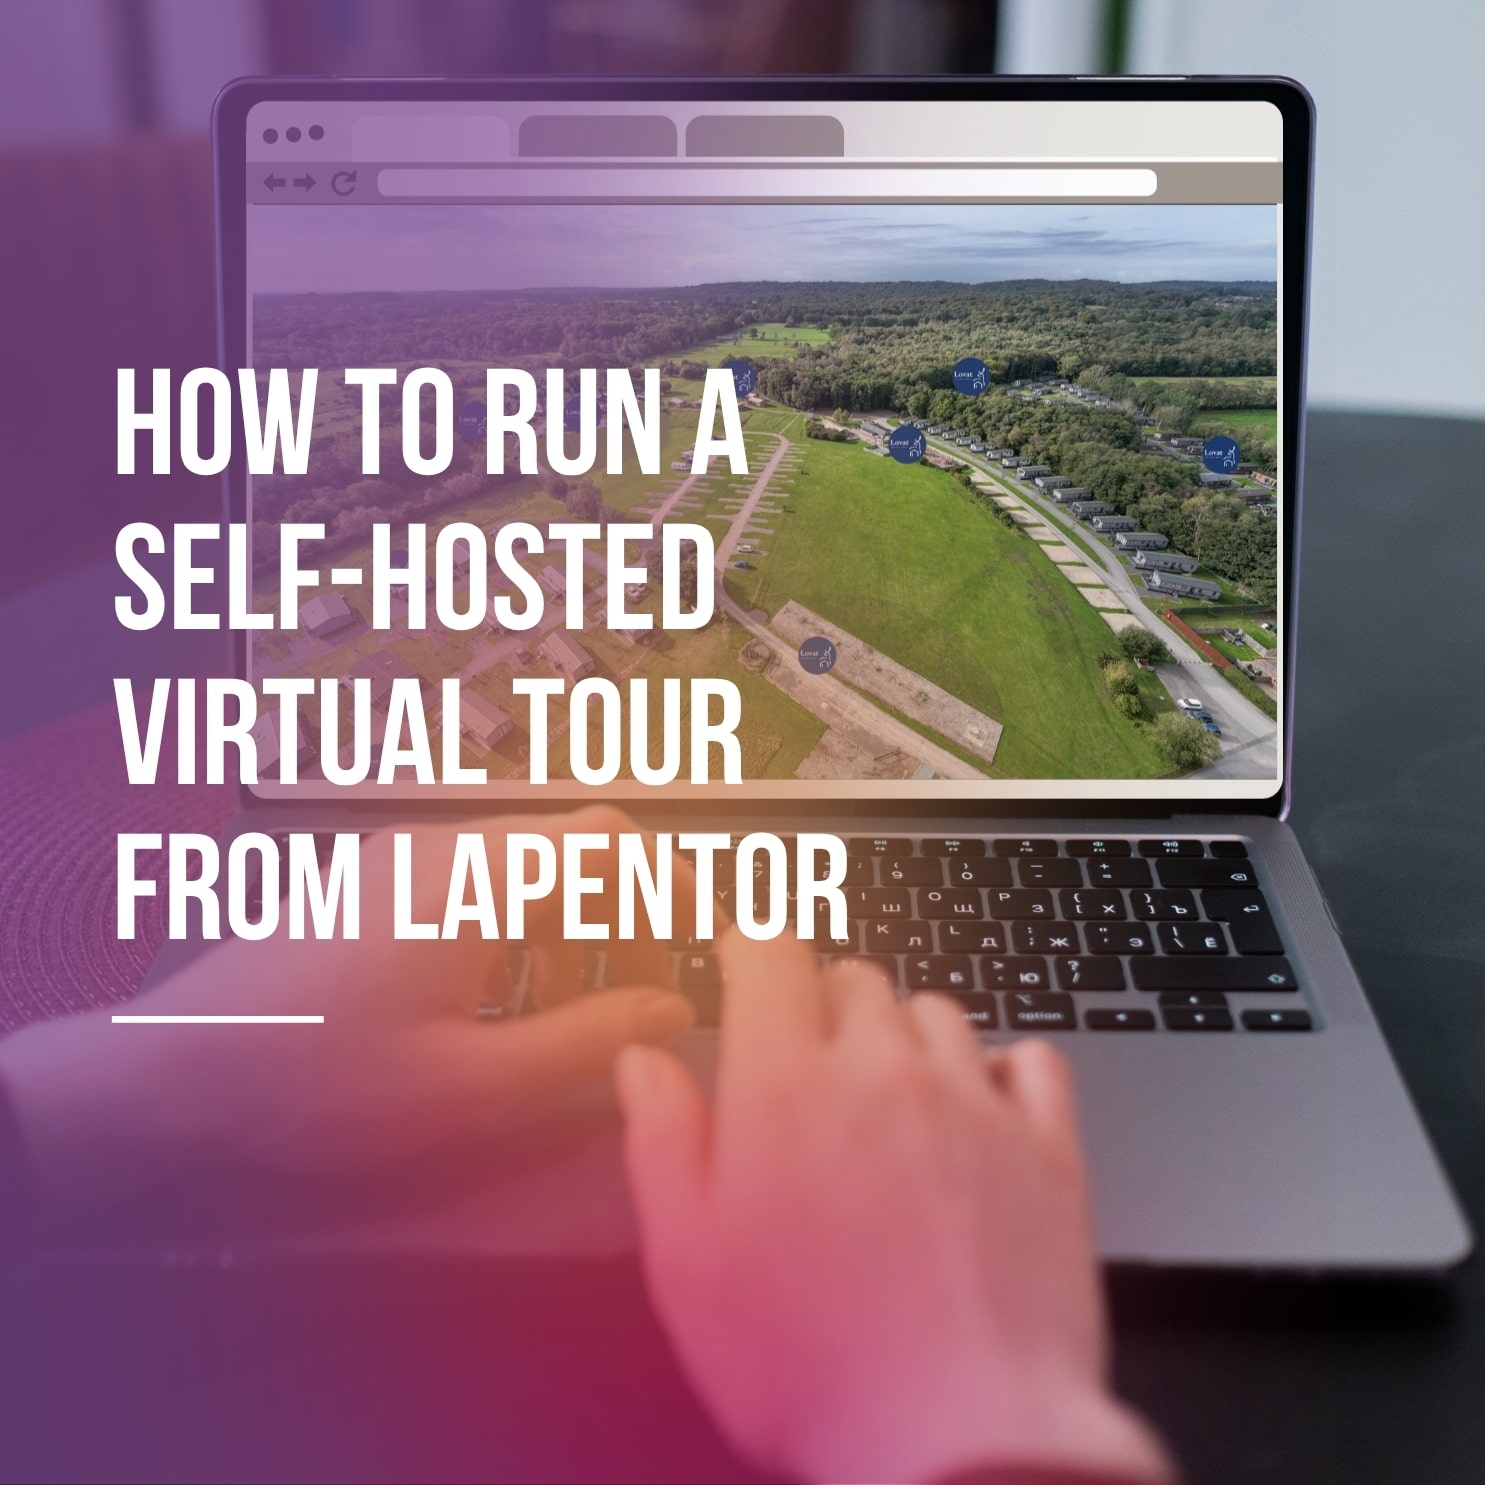
Lapentor is designed to be the most simple and intuitive virtual tour platform, even supporting Self-Hosting on your own domain. And adding a Control Bar is just as easy! This step-by-step guide is perfect for beginners, showing you exactly how to add a Control Bar to your virtual tour in just a few clicks.
What is a Control Bar and Why Do You Need It?
Think of the Control Bar as a customizable toolbar for your virtual tour. It’s the dedicated space where you can place buttons for various Lapentor plugins. Instead of cluttering your scene, these essential controls are neatly organized, enhancing the user experience.
Here’s why it’s a must-have:
- Organized Functionality: Keeps all your interactive buttons in one clean spot.
- Enhanced Navigation: Allows quick access to features like maps, floor plans, or common actions.
- Professional Look: Gives your virtual tour a polished, intuitive interface.
Ready to boost your tour’s functionality? Let’s get started!
Add a Control Bar to Virtual Tour
Follow these simple steps to effortlessly add a Control Bar to your Lapentor virtual tour:
Step 1: Open Your Project Editor
First, log in to your Lapentor account and open the virtual tour project you wish to enhance. You’ll do all your magic right here in the project editor.
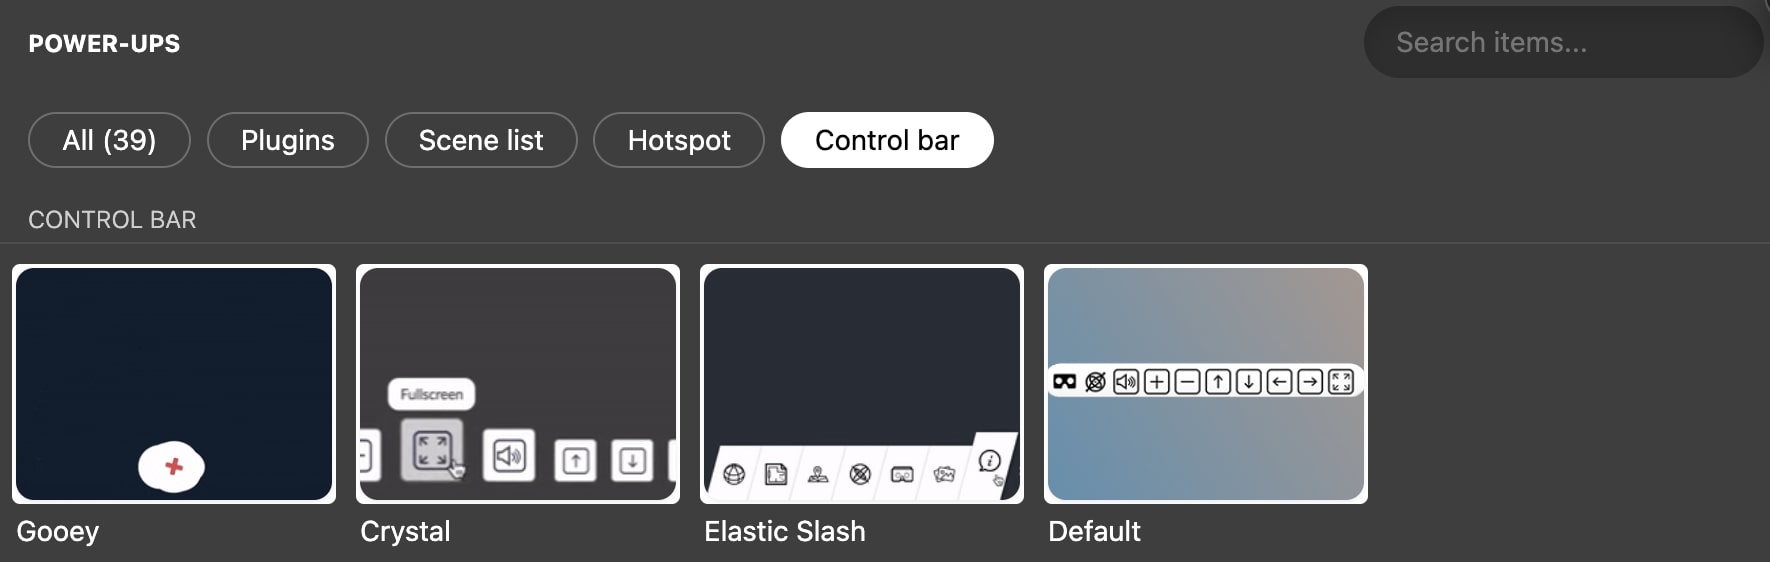
Step 2: Install a Control Bar Theme
Once your project is open, you’ll need to install a “Control Bar theme.” This theme provides the visual structure and placeholder for your control bar.
- Look for the “Themes” inside Power-ups popup in your editor
- Browse or search for a “Control Bar theme”. Select one that fits the aesthetic of your tour.
- Click to install it. Don’t worry, this doesn’t immediately add buttons; it just creates the bar itself.
Step 3: Install Your Desired Plugins (e.g., Common Buttons, Google Map)
Now that you have your Control Bar ready, it’s time to fill it with useful buttons! These are individual plugins that will appear on your Control Bar.
- Navigate to the “Power-ups” section within your Lapentor editor.
- Browse through the available plugins. You’ll find a wide variety, but here are some popular examples:
- Common Buttons: Essential controls like fullscreen toggle, auto-rotate, or sound on/off.
- Google Map: A handy button to toggle a map overlay, showing the location of your scenes.
- Floor Plan: A button to display a floor plan, allowing easy navigation between rooms.
- Install the plugins you want to appear on your Control Bar. Once installed, they will automatically populate the Control Bar you set up in Step 2.
Step 4: Preview & See the Result!
You’re almost there! It’s time to see your newly added Control Bar in action.
- Click the “Preview” button in your Lapentor editor. This will open your virtual tour in a new tab or window.
- Take a look at your tour. You should now see the Control Bar (usually at the bottom or top of the screen) with all the plugins you installed in Step 3! Click around and test out the new functionality.
Video tutorial
You’ve Done It!
Congratulations! You’ve successfully learned how to add a Control Bar to your virtual tour using Lapentor. This simple addition significantly enhances the functionality and user experience of your immersive spaces. Keep exploring Lapentor’s powerful features to make your virtual tours truly stand out!